 My Account
 Install Finance TWP Pro via WordPress
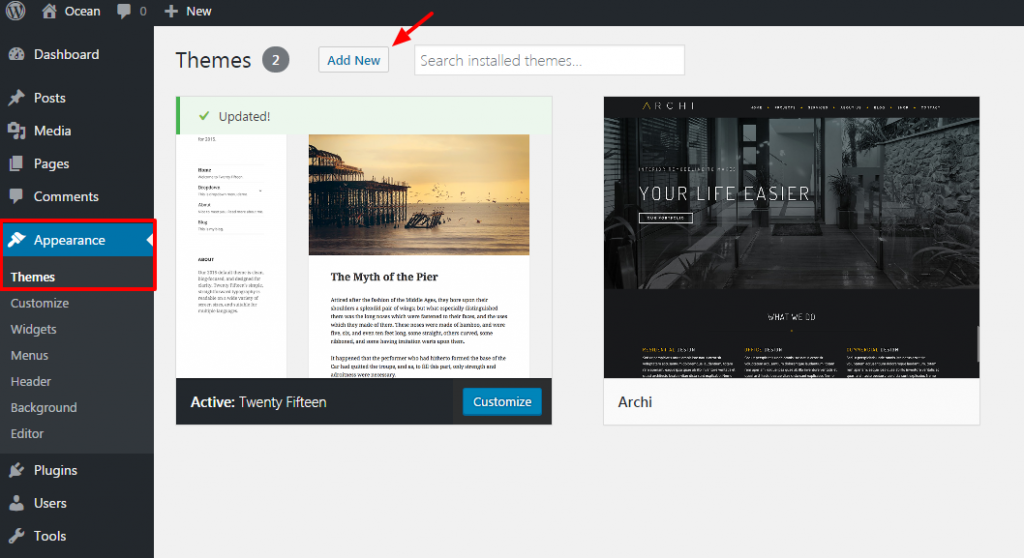
Step 1 – Log into your WordPress website and go to Appearance > Themes and click Add New.

Step 2 – Click Upload Theme.
Step 3 – Browse the Finance TWP Pro.zip file on your computer and click Install Now.
Step 4 – Once WordPress has unpacked and installed the theme, just click to activate it.
Install Finance TWP Pro via FTP
Step 1 – Unzip the Finance TWP Pro.zip file, you’ll get a folder Finance TWP Pro.
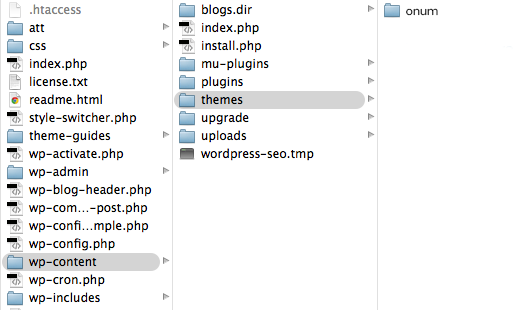
Step 2 – Upload that folder to wp-content/themes folder on your host.
Step 3 – Go to Appearance > Themes and activate the Finance TWP Pro theme.